| Author |
Photoshop help please |
vivid white
Joined: Aug 29, 2006
Posts: 324
From: Leicestershire, UK
PM |
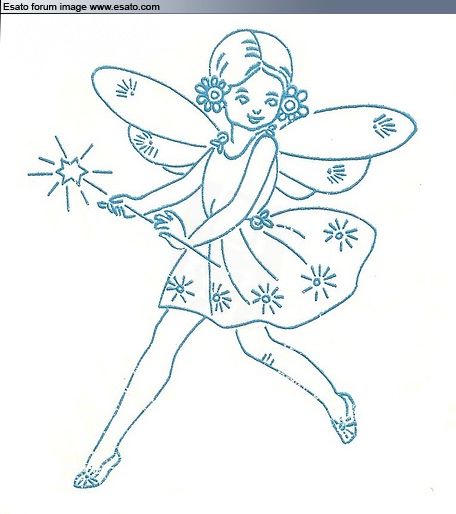
I need some help with this picture. (See below)
Basically I want to change the colour of the pixie/fairy and put it on a transparent background so that if it were to sit on top of something else that would be seen underneath the fairy.
Please could some give me alittle help on how to do this. I am a photoshop user and can normally do most things but this seems fidderly and when using the magic wand to select the bits i want to change colour it sometimes selects more than I want it to.
Regards
James
Formerly Known As SEP990i |
|
|
Cycovision
Joined: Nov 30, 2003
Posts: > 500
From: England
PM, WWW
|
Use the colour replacer tool to change the colour, then use the magic wand tool to select all white areas.
Then, go to 'selections' and 'invert'. This will grab the coloured lines.
Then 'Copy' the selection and paste as a new layer on a different image. The white bits should be transparent.

Quick and dirty, but it took less than one minute and proves the theory! You will need to go around the lines with a small eraser brush before changing the colour if you want to make it cleaner.
BTW, I'm using PaintShopPro so the tools and menus will probably have different names!
[ This Message was edited by: Cycovision on 2009-02-10 18:45 ] |
leeboy13
Joined: Sep 28, 2005
Posts: > 500
From: Brissle - dodgy accients
PM |
change the hue and saturation...... you can change any color you want then 
living the dream! |
NightBlade
Joined: Jul 29, 2007
Posts: > 500
From: Nessebar, Bulgaria
PM |
Cyco, sorry but that is an extremely ineffective way. At least in Adobe Photoshop.
IMO, you just have to delete the white background using the Erase Background brush (very handy) and then change the hues of teh picture by going to Image>Adjustments>Hue/Saturation.
_________________
[ This Message was edited by: NightBlade on 2009-02-11 22:06 ] |
blackspot
Joined: Sep 06, 2004
Posts: > 500
From: Philippines
PM |
There are many ways to do this, I would prefer this:
1. select the entire image
2. copy
3. turn Quick Mask on
4. paste
5. open level adjustment palette (image > adjustment > levels)
a) select the "Set Black Point" dropper
b) point and click on the color of the fairy lines (blue)
c) click OK
6. turn Quick Mask off (back to Standard Mode)
7. delete
This is assuming that the image is in a floating layer of course. The idea is to make a selection using the image itself so all the anti-aliasing is retained. Raising the black level to the blue color is used to make sure that the on the blue colors, the mask is 100% so that all blue parts of the image is not selected as a result.
You can use a similar method but paste the image into a layer mask instead of pasting it on the quick mask. Using the layer mask will automatically hide the white background so you don't have to delete anything.
EDIT: I forgot to mention that if you decide to use layer mask, the image has to be inverted.
[ This Message was edited by: blackspot on 2009-02-12 01:56 ] |
|
|


 Posted: 2009-02-10 18:20


