| Author |
Post a picture (and video) taken with your K750i |
vd0t
Joined: Apr 03, 2004
Posts: 68
From: Vancouver
PM |
where do u get music videos n whole movies to put on ur phone?
do u download it somewhere or do u convert it urself?
what kinda file sizes can i expect for music vidz and movies?
thanks
Quote:
|
On 2005-06-23 19:34:58, etaab wrote:
You can store about 120-130 pictures on the standard 64mb Memory Stick Duo.
You'll find that even if you dont listen to music, the card space will easily be taken up if you put music videos or whole movie files on the phone. So, its best to get a 128mb Memory Stick as a minimum IMO.
I currently use a 1GB Pro Duo stick, which can hold around 1,800 pictures. 
|
|
|
|
|
etaab
Joined: Jan 23, 2004
Posts: > 500
From: UK - South Yorkshire
PM |
Well, you can find some videos in this thread:
http://www.esato.com/board/viewtopic.php?topic=61850&start=0
As for tv episodes and movies, you can download them from the internet if you know where.
In the past ive copied an entire DVD to my hard drive and converted it to play on my phone too.
Check me out on Instagram ! search for etaab ! |
rajasekharan_v
Joined: Apr 23, 2005
Posts: 211
From: Kerala..Now in Thiruvananthapu
PM |
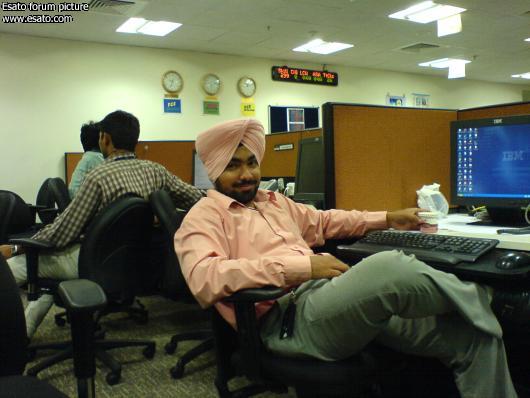
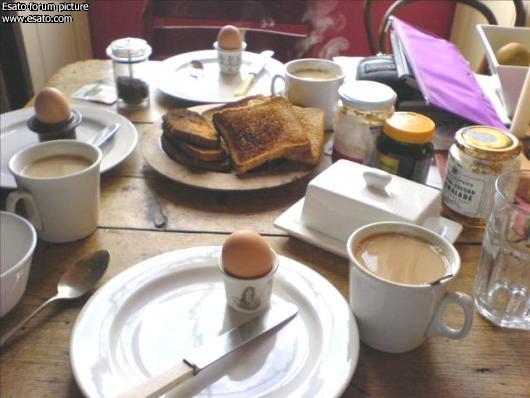
all the ones that i have taken in my office at night..with the tubelight....
i want to ask you guys.....do you use photoshop to edit the pics?
how do i go about it...?
what filters should i use?
K750i My Preciousssssssssss!!!! |
vojta66
Joined: Apr 18, 2003
Posts: > 500
From: Praha, CZ
PM |
 |
Arne Anka
Joined: Nov 05, 2003
Posts: > 500
From: Sweden
PM |
Sounds like an agriculture university. Right ?
|
tzakiel
Joined: Sep 29, 2004
Posts: 66
PM |
PHOTOSHOP DIGITAL CAMERA PIC QUALITY PROCESS:
here is my patented "Art student" process for photoshop to get the most out of each photo:
1. Open the picture and set the view to either 100% or 50% depending on what you can see on one screen. Do not use odd zoom %'s as they will appear jagged. Go to image, adjustments, auto color. Then select edit, fade auto color and adjust the slider to get a mix of the original colors and what photoshop thought was best. often about 50% works, unless you love the auto color the way it is. This is the easiest way to get rid of unnatural hues, but the fade trick helps some photos keep a normal look as it can be harsh.
2. Go to image, adjustments, levels and adjust the RBG levels. The visual black "Wave" represents how much data is stored in that level range. What this means in english is use the 3 level arrows to get black blacks, white whites, and a good mid-level. You will know it when you see it. Don't go too black or too white as you lose details. Often bringing the right and left arrows in a bit toward the center (especially the right one) helps get nice vibrant color and contrast. The middle arrow can help you "fill in" or "darken" the rest of the image. This is the best way to do brightness and contrast.
3. Use filter, unsharp mask at a maximum of 50% or so with default settings, or try the new smart sharpen tool in CS 8. Both can bring out some nice detail in a slightly blurred picture. Be very subtle. A little blur is better than sharpening so that things look fake.
4. (optional) Image, image size the image down to 1280x960 for general screen viewing, or 640x480 for web posting. Reducing size is not always bad. It can hide a lot of imperfections, and an image that looks HORRIBLY blurry at 1600x1200 may look pretty much fine at 640x480! This is the advantage of starting with a large source file. If you plan to print your image, I would leave it alone at the native resolution of the camera.
5. Go to file, save for web and use the previews to see what is the best mix of quality and size. Often JPEG at 70-80% is ideal. Some people keep the source photo file and others delete it.
These 5 steps cover color correction, black and white level, sharpening and resizing in photoshop in the best ways I have found. Enjoy and feel free to give feedback.
tzak
[ This Message was edited by: tzakiel on 2005-06-23 21:44 ]
[ This Message was edited by: tzakiel on 2005-06-23 21:45 ]
[ This Message was edited by: tzakiel on 2005-06-23 21:46 ] |
rmcrys
Joined: Mar 25, 2004
Posts: 164
From: Norte, Portugal
PM |
Or buy Paint Shop Pro 9 and have one of the best photo editing programs, go to:
- Adjust
- One Step Photo Fix
and voil�!
And if you aren�t happy with the result, you have all the options PS has 
Powered by SonyEricsson K750i |
tzakiel
Joined: Sep 29, 2004
Posts: 66
PM |
I have not been able to get verty nice results with "one step fix" programs... photoshop has the better toolset in my humble opinion, and that process i laid out can save some very nasty pictures. |
rajasekharan_v
Joined: Apr 23, 2005
Posts: 211
From: Kerala..Now in Thiruvananthapu
PM |
i got a tool neat image....
check out....
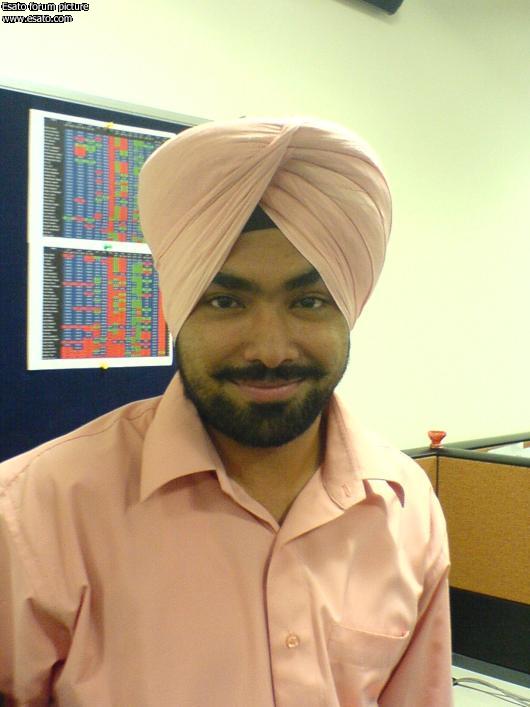
original pic

the edited one

looks good...
K750i My Preciousssssssssss!!!! |
textappeal
Joined: Jun 18, 2005
Posts: 55
From: London, UK
PM |
tzakiel - I knew about 4 & 5, but 1-3 are brilliant tips.
As for reducing noise in Photoshop, I sometimes grab the lasso tool & draw a selection around a noisy bit of the pic. Then I go to filter > noise > despeckle. It can improve the noise situation in a picture if there's a tiny bit of noise in the pic to start with. Make sure there's at least a 1 pixel feather around the selection to make the blend look better.
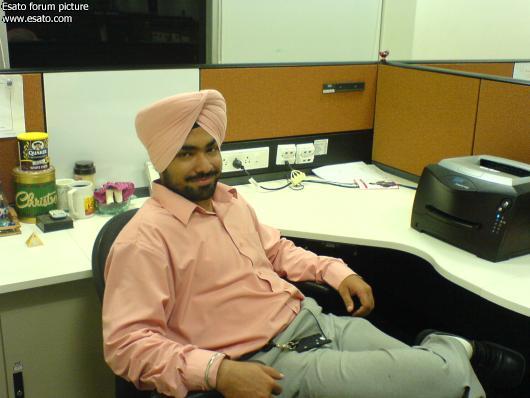
Nice edited pic, rajasekharan_v. Less noise on the chairs & the arm and hand for a start ! Did you use Photoshop ? If so, how did you do it ?
[ This Message was edited by: textappeal on 2005-06-24 00:54 ]
[ This Message was edited by: textappeal on 2005-06-24 00:55 ] |
tzakiel
Joined: Sep 29, 2004
Posts: 66
PM |
Quote:
|
On 2005-06-24 01:51:18, textappeal wrote:
tzakiel - I knew about 4 & 5, but 1-3 are brilliant tips.
As for reducing noise in Photoshop, I sometimes grab the lasso tool & draw a selection around a noisy bit of the pic. Then I go to filter > noise > despeckle. It can improve the noise situation in a picture if there's a tiny bit of noise in the pic to start with. Make sure there's at least a 1 pixel feather around the selection to make the blend look better.
Nice edited pic, rajasekharan_v. Less noise on the chairs & the arm and hand for a start ! Did you use Photoshop ? If so, how did you do it ?
[ This Message was edited by: textappeal on 2005-06-24 00:54 ]
[ This Message was edited by: textappeal on 2005-06-24 00:55 ]
|
|
Good point, i forgot to include instructions for noise reduction. Despeckle can work nicely. Another one to try it filter, blur, smart blur and toy with the settings until you get a nice, smooth image. Overdo it, and then use the edit/fade smart blur trick to take it back to a happy medium. |
tzakiel
Joined: Sep 29, 2004
Posts: 66
PM |
i just got my k750! here are my first 2 macro shots of dead flowers outside:
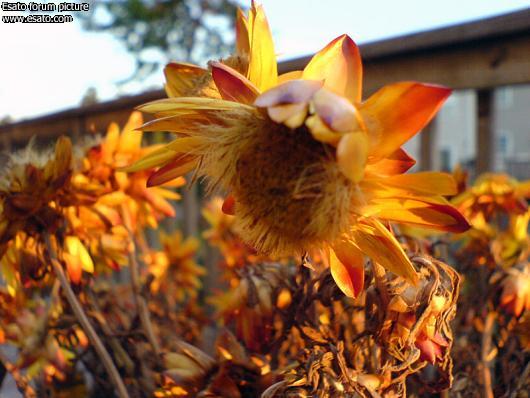
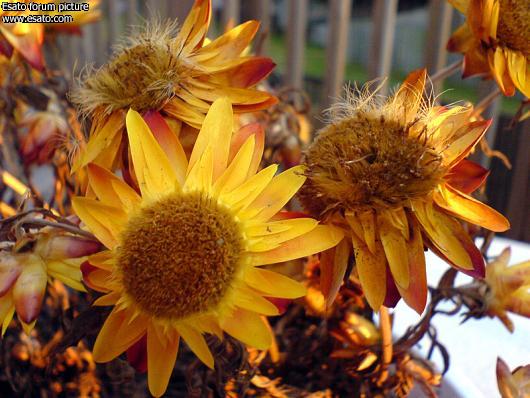
needless to say im friggin HAPPY |
rajasekharan_v
Joined: Apr 23, 2005
Posts: 211
From: Kerala..Now in Thiruvananthapu
PM |
i used the tool named..."neat image" ...
http://www.neatimage.com/
check this out..... ..its too too simple to use ..its too too simple to use
K750i My Preciousssssssssss!!!! |
staline
Joined: Feb 04, 2004
Posts: 209
From: Brussels,Belgium
PM |
Belgian Coast (North Sea) , yesterday by K750i..resized to 800X600:


_________________
Fan of S E
K750i-P900
Proximus,be
member aswell of a French SE forum: http://www.planete-se.net
[ This Message was edited by: staline on 2005-06-24 08:09 ] |
hakenvisual
Joined: Jun 03, 2005
Posts: 8
From: UK
PM |
Maybe I'm paranoid, but lots of other peoples photos seem to look better than mine! Is it because I sent my pictures to my PC by sms? the phone had to re-size the pics which I guess reduces quality?
If i wanted to print some shots would it be better to upload them to my PC using a cable? I'm thinking that would mean the photos would not need to be resized and would therefore be of a better quality...?
I set my camera to have the maximum pixels and 'fine' picture quality. Am I doing everything i can to take high quality photos?
|
|
|


 Posted: 2005-06-23 20:50


